Salesforce CRM Tutorial for New Admins
Learn the core objects, security layers, and configuration tools that define the admin role.
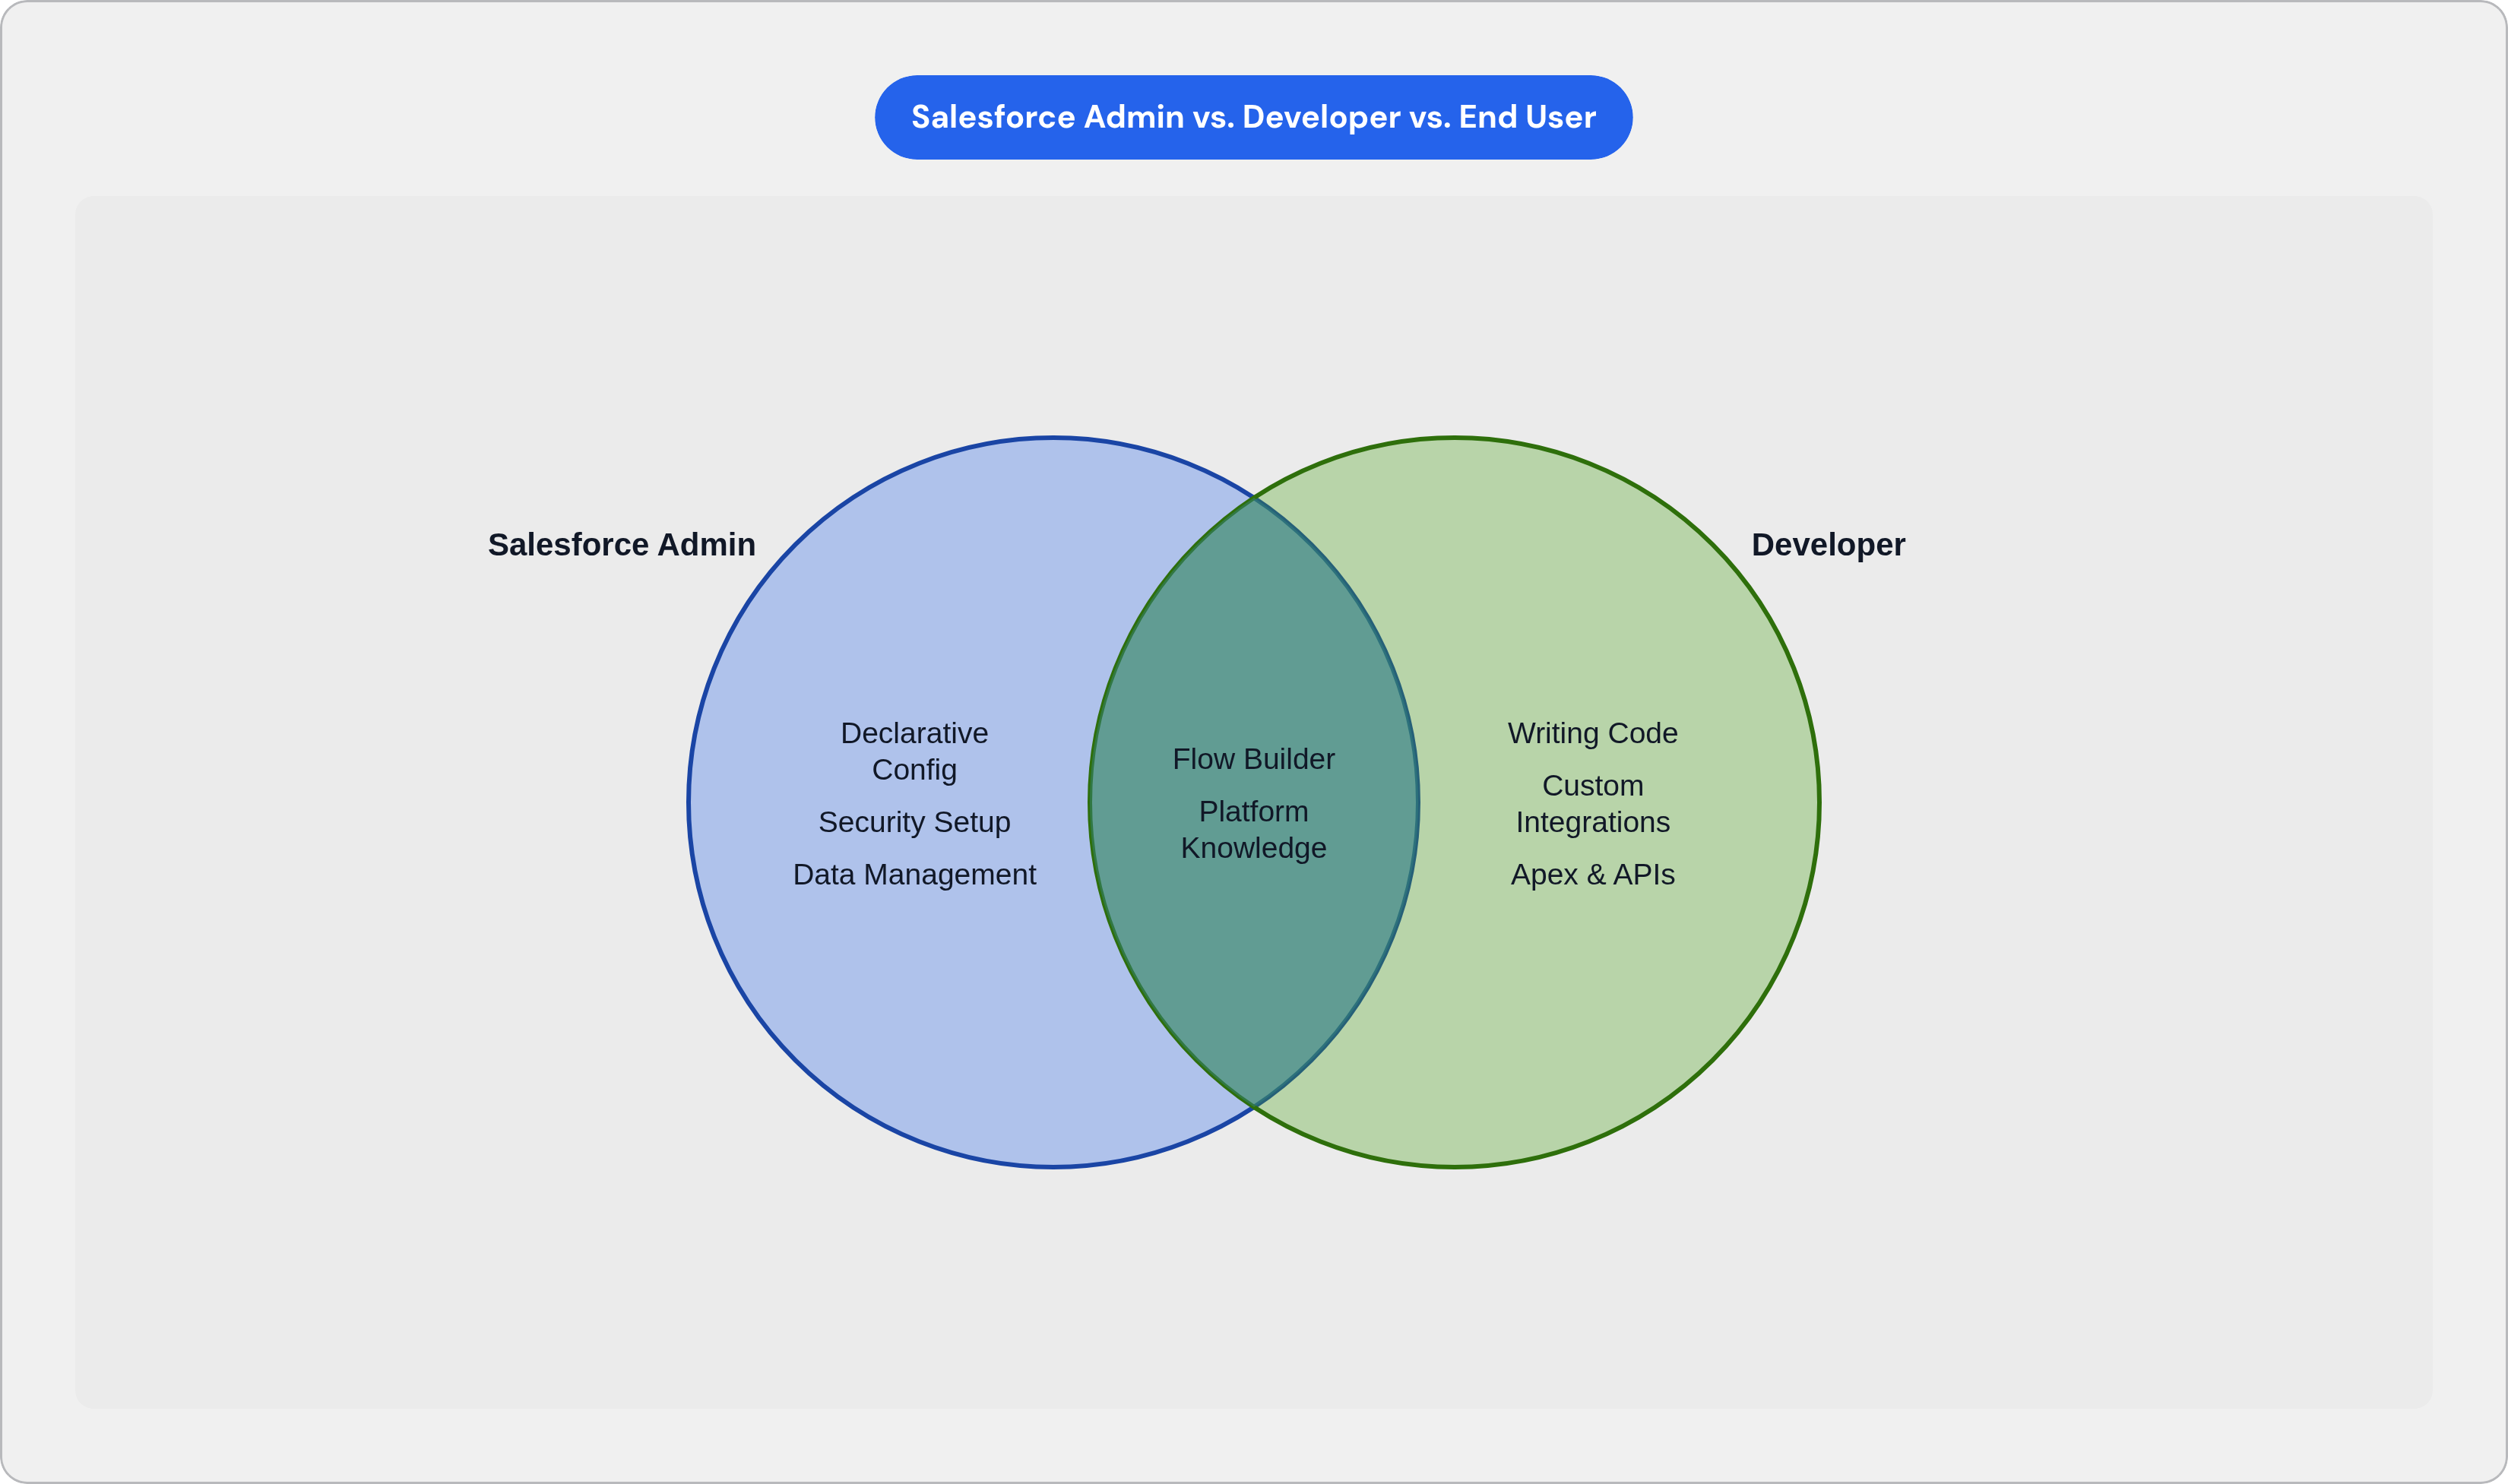
The admin is the bridge between what Salesforce can do and what the business actually needs. You're not a developer, and you're not a passive end user either. You're somewhere in between, and that position carries real weight. You're fluent in both "business problem" and "platform capability," and your job is to keep both sides from talking past each other.
On any given week, you will be:
Creating and managing users. New hire starts Monday? That's on you.
Controlling security. Who can see what, and who can change what.
Customizing the platform. Building fields, layouts, and validation rules.
Automating work. Eliminating repetitive manual tasks through flows.
Managing data. Importing records, cleaning duplicates, maintaining quality.
Building reports and dashboards. Giving sales leaders and service teams the visibility they need.
Most of this requires zero code. Salesforce's declarative tools handle the vast majority of configuration work, so you're clicking and configuring rather than writing scripts. In smaller organizations, one admin handles all of it alone. In larger ones, these responsibilities get divided across a team. Either way, the breadth of the role is exactly why it feels overwhelming at first. It's not that any single piece is particularly hard. It's that there's a lot of it, and it all connects to everything else.
Getting oriented: the Setup menu and how Salesforce is organized
Setup is your home base. Everything an admin touches lives in here. When you first log in with admin credentials, look for the gear icon in the top-right corner. You will spend a significant portion of your career behind it.
A few areas to locate on day one:
Object Manager. Where you build and modify objects, fields, and page layouts.
Users. Where you create accounts and assign access.
Profiles and Permission Sets. The access control engine.
Flow Builder. The automation tool.
Reports and Dashboards. Where data surfaces for end users.
Data Import Wizard and Data Loader. Your data management tools.
Also find the App Launcher, the grid icon in the top-left corner. That's how you and your users switch between Salesforce apps like Sales Cloud and Service Cloud.
One practical move before anything else: set up a free Developer Edition org or a Trailhead Playground. It's a sandbox where you can break things without consequence, and nothing you do there touches real data or real users. Every experienced admin has one.
Use the Setup search bar rather than clicking through menus. Experienced admins almost never navigate manually. They just type what they need, and you should start doing the same immediately.
The Salesforce data model: objects, fields, and relationships
At its core, Salesforce is a relational database. Objects are tables. Fields are columns. Records are rows. Once that clicks, the whole platform starts making more sense. The architecture stops feeling arbitrary and starts feeling intentional.
Standard objects you need to know immediately
Salesforce ships with standard objects built around common business processes:
Leads. Prospective customers who haven't been qualified yet.
Accounts. The companies or individuals you do business with.
Contacts. The people associated with those Accounts.
Opportunities. Potential deals in the pipeline.
Cases. Customer service requests or issues.
These five will cover most of what most orgs actually use Salesforce for day to day.
Custom objects
When standard objects don't fit, you build your own. A consulting firm might create a "Project" object. A logistics company might build a "Shipment" object. Custom objects work exactly like standard ones, with the same field, record, and relationship mechanics under different names.
Field types worth understanding early
Text, number, date, picklist. The basics.
Formula fields. Calculated automatically from other field values. They're read-only because Salesforce handles the math.
Roll-up summary fields. Aggregate values from child records. For example, the total value of all Opportunities tied to an Account. Only available on master-detail relationships.
Relationship types
Lookup. A loose link between two objects. The child can exist without the parent, so deleting the parent leaves the child intact.
Master-Detail. A tight link. Deleting the parent deletes the children too. This relationship also unlocks roll-up summary fields.
Every automation, report, and page layout you build depends on knowing which objects hold which data and how they connect. Get this foundation right and the rest of the job gets considerably easier.
Salesforce's layered security model and how to configure it correctly
Security is where new admins get into trouble most often, and where mistakes cause the most damage. The model itself isn't complicated once you see it as a stack, with each layer more specific than the one before.
The layers, from broadest to most specific
Organization-Wide Defaults (OWD). Sets the most restrictive baseline access for any object across the entire org. This is the floor, and everything else opens access up from here.
Role Hierarchy. Users higher in the hierarchy can see records owned by users below them.
Sharing Rules. Extend access horizontally. Useful when two groups at the same hierarchy level need visibility into each other's records.
Profiles. Define what a user can do, including object permissions, field access, and app access.
Permission Sets. Add specific, targeted access on top of a profile.
There's a mnemonic worth writing down: "Roles see, Profiles do, Permission Sets add." It's a simplification, but it holds up well enough to guide most decisions.
The modern approach: permission-set-led access
Salesforce has been steering admins away from doing everything through profiles. The current guidance is to keep profiles lean as a minimal baseline and grant most access through permission sets and permission set groups.
The reason is practical. A user can only hold one profile, but they can hold multiple permission sets. You can build a "Sales Manager Access" permission set group that bundles reporting, forecasting, and flow management permissions, then assign the whole bundle to anyone who needs it. That's cleaner than maintaining a dozen slightly different profiles and trying to remember which one has what.
The Principle of Least Privilege
Every user should have exactly the access they need to do their job. New admins are often tempted to grant broad access to avoid support tickets, but tightening permissions after people have gotten used to seeing everything is significantly harder than expanding access incrementally. Set it right the first time.
Building and managing users: profiles, permission sets, and roles in practice
Creating a user is straightforward. The fields that matter are username (which must be in email format and globally unique across all Salesforce orgs, not just yours), email address, profile assignment, role assignment, and license type.
A few things about profiles in practice
Salesforce ships with standard profiles like Standard User, Read Only, and System Administrator. Before you touch any of them, understand what each allows. More importantly, don't edit standard profiles directly. Clone them first, then edit the clone. Salesforce restricts changes on some standard profile settings anyway, and cloning gives you a clean working copy you actually control.
Assigning permission sets
Go to the user's record, find Permission Set Assignments, and add what they need. If they need a bundle of access all at once, use a permission set group rather than piling on five separate permission sets and trying to track what came from where.
Roles and the role hierarchy
Roles are not job titles, and this trips up almost every new admin. Roles don't represent what someone does. They represent data visibility. A user's role in the hierarchy determines which records they can see based on record ownership.
Build the hierarchy to reflect how data needs to roll up in your organization, not necessarily how the org chart looks. Those are often very different things, and conflating them creates problems.
One common mistake is leaving users without a role assigned. Users without a role sit at the top of the hierarchy by default, which can give them visibility into records they shouldn't see. Be deliberate about role assignments from the start.
You cannot delete a user who owns records. What you do instead is deactivate them, then reassign their records. This happens every time someone leaves the company, so get comfortable with that workflow.
Customizing objects: fields, page layouts, and record types
This is where you start making Salesforce fit the business instead of the other way around.
Adding a custom field
Go to Object Manager, select your object, click Fields & Relationships, then New. The key decision happens before you save: choose the right field type. Once records exist on that field, changing the type often means losing data. During creation, you also set field-level security to control which profiles can see or edit the field.
Picklist fields are worth calling out specifically. Define values centrally using global picklists wherever you can. You can reuse them across multiple objects, which keeps your data consistent and makes future updates far less painful.
Validation rules
Validation rules enforce data quality at the point of entry. They're written in formula syntax and work counterintuitively at first: the formula returns TRUE when the data is invalid, which triggers the error message. You're describing the problem, not the solution.
A practical example: requiring a Close Date on an Opportunity before it moves to Closed Won. Without that rule, reps will leave it blank every time. With it, they can't. The difference in data quality is significant.
Page layouts vs. Lightning record pages
New admins mix these up constantly, and it's an understandable confusion.
Page layouts control which fields and related lists appear on a record, and in what order.
Lightning record pages (built in Lightning App Builder) control the overall structure of the page, including which components appear and where.
They work together but live in different places. Getting clear on this distinction early saves real frustration later.
Record types
Record types let you show different page layouts and picklist values to different user groups on the same object. If your sales team handles Opportunities differently for direct sales versus partner sales, record types let each group work in a tailored experience without duplicating the object.
Automating work with Flow Builder
Flow Builder is the automation tool for admins. Salesforce retired the older tools (Workflow Rules and Process Builder), so if you find documentation referencing those, it's outdated. Flow Builder is what you use now.
What flows can actually do
Update records automatically when conditions are met
Guide users through a multi-step screen experience
Send email alerts or create tasks
Run on a schedule against a batch of records
Respond to external triggers or run in the background when called by another process
The four flow types you'll use first
Screen Flow. User-facing. Walks someone through a guided process step by step.
Record-Triggered Flow. Fires when a record is created, updated, or deleted. This is the direct replacement for old Workflow Rules.
Scheduled Flow. Runs on a time-based schedule. Useful for reminders and updating stale records.
Autolaunched Flow. Runs in the background, called by another process or integration.
The building blocks inside the canvas
Elements. Get Records, Update Records, Create Records, Delete Records, Assignment, Decision, Loop. These are the actions your flow takes.
Variables. Store values to pass through the flow.
Resources. Formulas, constants, text templates.
The best starting point for a new admin is to build a Record-Triggered Flow that updates a field on an Opportunity when the Stage changes. It's simple enough to learn the interface without getting lost, and useful enough to justify the effort.
One pitfall to know early: if your flow fires on every record save with no entry conditions, you'll hit governor limits fast once your org has real volume. Use entry conditions to define precisely when the flow should run, because narrow scope is almost always better.
Reports and dashboards: surfacing data for your users
Your users don't live in Setup. They live in reports and dashboards. This is how leadership sees pipeline health, how service managers track case volume, and how reps monitor their own numbers.
Reports
Reports are structured queries against your Salesforce data. Four formats:
Tabular. A flat list. Simple, but limited.
Summary. Grouped by a field. More useful for most business use cases.
Matrix. Grouped by both rows and columns. Good for comparisons.
Joined. Multiple report blocks in one view. More advanced, less commonly needed early on.
Note that "report types" (which define which objects and fields are available to build from) are different from the four formats above. Admins can create custom report types to expose relationships that aren't available by default.
Building a report starts in the Report Builder. Select a report type, add fields as columns, apply filters, and group rows if you're building a Summary report.
Dashboards
Dashboards are visual displays built from reports. Every component on a dashboard, whether it's a chart, gauge, metric, table, or funnel, is powered by an underlying report. No report means no component.
The running user setting determines whose data the dashboard reflects when viewed. A dynamic dashboard shows each viewer their own data, which is useful for personal performance views. A standard dashboard with a fixed running user shows the same data to everyone, which is useful for leadership reporting.
Reports and dashboards both live in folders, and folder access controls who can see which reports separately from object-level security. Build reports first and get comfortable there. Dashboard fluency follows naturally once you understand the data underneath.
Importing and managing data cleanly from the start
Data hygiene isn't glamorous, but it's what makes everything else work or quietly fall apart. A dirty dataset doesn't just make reports look bad. It erodes trust in the whole system, and once that trust is gone it's very hard to earn back.
The two main tools
Data Import Wizard. Browser-based, guided, and appropriate for smaller volumes on standard objects and simpler custom objects.
Data Loader. A desktop application that handles larger volumes, supports all objects, and is required for exports and deletes at scale.
Before you import anything
Three things to check:
Map your source fields to Salesforce fields. Don't assume column names will match.
Check for duplicates in your source file. Importing duplicates is much easier than cleaning them up afterward.
Make sure picklist values in your source file exactly match the values defined in Salesforce. A mismatch will either error out or silently create records with blank picklist fields.
Duplicate management
Salesforce has native Duplicate Rules and Matching Rules. Configure these before you start importing, not after. Setting up matching criteria upfront takes an hour. Cleaning up a thousand duplicates manually takes considerably longer. The admin who keeps the data clean is the admin who gets trusted with bigger things.